Setting up Environment
Setup Environment
To start setup the environment, you will need to first to first install npm. This can be done by installing node.js. You can follow installation from the site so I won’t cover detail on that step. Once that is done, we can use npm to install all the necessary tools. There are few ways to get started.
1. Setup using react-native-cli (older approach)
This approach allows you build directly to the native apps with fewer layers. But I find this approach of building a little slow. I recommend the approach 2 below instead. So for this approach you run:
npm install -g react-native-cli
To create a project, run (replace the “<project_name>” with the name of your project:
react-native init <project_name>
You may run into sisueOther notes: rebuild issue: rm -rf node_modules && npm install
2. Setup using Expo (current approach from react-native as of Oct 2018)
This is a more recent approach from react-native site. I recommended this approach than the previous one. It is more responsive in building and testing. This uses an additional layer call Expo (previously known as Exponent). It is a tool chain build around react native to provide more flexibility to run and test your app.
Run:
npm i -g expo-cli npm i -g create-react-native-app
To create a startup project run:
create-react-native-app <project_name>
Creating and Launching an App
When running create-react-ative-app, you will prompted by to choose a temple with two options (blank or with sample navigation). I choose blank.
The next to run this, just type in the commands suggested above. You can also use “yarn start” instead of “expo start”.
A web browser window will pop up. I will leave the command prompt as is and interact more in the web browser instead. You only need to come back to the command prompt if you want to stop the process by pressing Ctrl+C.
In the browser, you will see this:

Run on iOS Simulator
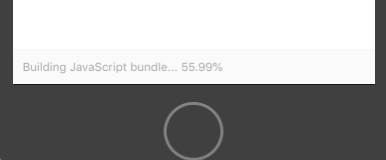
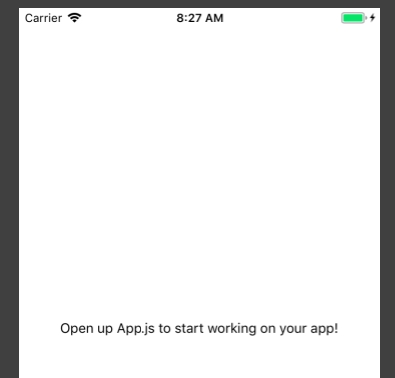
Now you can click on Run iOS simulator to start the simulator. The simulator will start up and run Expo and download the Javascript bundle. You will see this:iOS simulator screenshot

Now you should see this. Now you are set to go.

Run on iPhone
To run on the iPhone device, you have a few simple options. But first install and run Expo on your iPhone. You will need to register a free account with Expo. Notice that you iPhone must connect to the wifi as your computer running the expo when you select “CONNECTION” as LAN.
Start Safari browser and type in expo address from the browser screenshot above: exp://192.168.1.120:19000
You browser will prompt to use Expo, choose that and now your Expo will start to launch your app.
Last updated
Was this helpful?