React Native "Hello World"
What is React Native?
Setting up the Development Environment
Use React Native CLI
Run a React Native App
What is App.js?
Hot Reloading
AppRegistryBuild your first React Native App
Learn about different UI components
ViewComponentStyleSheetObjectTextComponentCreate a list with
FlatListLearning Path for React Native
What is React Native?
In a nutshell, React Native allows you to build mobile applications that look, feel and perform much more like native applications. It uses the same fundamental UI building blocks as regular iOS and Android apps. You just put those building blocks together using JavaScript and React. Good thing for developers is that they can use almost the same concepts that are being used for building web applications.
If you are familiar with Reactjs or come from front-end development background, React uses a virtual DOM which acts as a shadow to real DOM available. When an element changes, that change is reflected on the real DOM by Virtual DOM using a node that corresponds to each element.
However, in React Native, there is no DOM rather than Native Components which are provided by platforms such as iOS and Android. There are no web views here. React Native has an instance of JavaScriptCore to execute JS code when an application starts. React Native uses RCTBridgeModule to make a connection between native code and JavaScript code.
In simple words, React Native brings the React to mobile app development. Its goal isn’t to write the code once and run it on any platform. The main goal here is to learn once and write-anywhere.
Pre-requisites: Setting Up Development Environment
To dive deeply in React Native’s ecosystem, we need to install a few things first to get started. Let us go through one of them.
Nodejs & Watchman
React Native uses Node.js, a JavaScript runtime, to build your JavaScript code. If you do not already have Node.js installed, it’s time to get it from its official website here. I recommend installing LTS (long-term support) 10.x.x version which is also I am using personally.
Watchman is a tool developed by Facebook for watching file changes. It is highly recommended you install it for better performance. For Mac users, You will need thehomebrew macOS package to install watchman: brew install watchman.
For Windows users, there is no watchman so you can skip this step but you need to have Nodejs as well as python2 as React Native's recent version requires it.
Lastly, everyone (irrespective of the OS you are using) need to install theJava SE Development Kit (JDK) that can be found here. Make sure the version you install is at least or more than >= 8.
Native SDKs
For macOS developers, you can install Xcode which is free to develop iOS applications.
If you want to develop for Android, setting up its development environment can be a bit tedious if you are new to this. You will be installing Android Studio which is a completely free tool to develop Android apps in its native language. You will be installing a list of utilities for this process and then setting path variables for the first time, so I am recommending to go through the exact link here which are official setup instructions provided by Facebook.
React Native CLI
Once you are done with the development environment setup process and necessary tools, you can take a deep breath right now. We are going to start building our first REACT NATIVE APP. In order to start, we need one more tool. Using npm (a package manager, which you installed using Node.js) you are now going to install react-native-cli. Open your terminal and run the following command.
npm install -g react-native-cli
This CLI tool is used to scaffold a starter project containing everything you need to build and run a React Native app. npm installs this CLI tool as a global module.
To verify that the installation process was a success, you can run the command below and it will output you the current version of the CLI tool.
react-native — version ## outputreact-native-cli: 2.0.1
Running a React Native App
To get started we need to create a project directory using the CLI tool just installed. Open up your terminal and run the following.
react-native init Hello-world
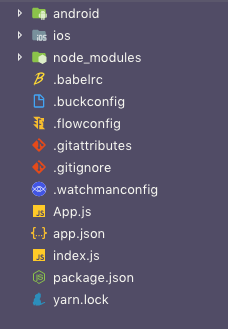
You can name it whatever you want. Once the process is done, traverse inside the project directory. You will be welcomed by a set of files like below.

From above let us now take a brief look at the files or directories that are essential for us to understand:
App.js the first file in any React Native app that is the entry point of the app development process. Whatever you write inside this file, it will get displayed on the mobile device.
node_modules/ is a folder which contains all the dependencies (or packages) that are used to develop and run this application.
index.js is the entry point to trigger the app on a device or simulator
ios is the folder containing an Xcode project and the code required to bootstrap this app for iOS devices
android is the folder containing android related code to bootstrap this app for Android devices
package.json where every dependency installed gets listed
You can ignore the other files as of now.
Running the Application
The react-native-cli tool comes with some default snippets of code. To see it in action, you will have to run the application using a terminal. I am going to use an iOS simulator and an Android emulator for this purpose. Windows developers can ignore the iOS part.
Do note that, we have not made any changes in the source code of the application. To run the app, we need to trigger the below command first.
npm start
This will start the metro bundler to watch for any file changes in a .js file in your project. Make sure this command is running in a separate terminal window or a tab when you are building your project for iOS or Android.
Running on iOS
To run the app with whatever current content it has on an iOS simulator, you can run the following command below in the second terminal window.
react-native run-ios
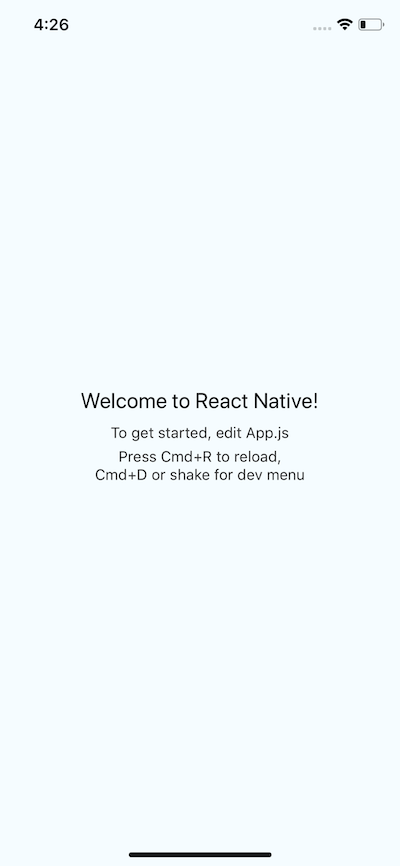
This command builds your app and starts it on iOS simulator. This process consumes some good amount of time when building the necessary iOS files for the first time for any React Native app. It will also open up a simulator device for you like below when the process is done.

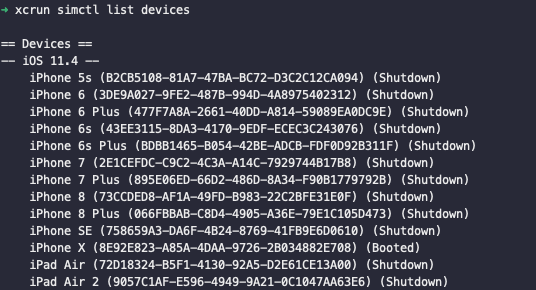
This iOS simulator is the default one with current Xcode version you have. However, you can run any sim device by adding a flag. By running the command:xcrun simctl list devices you can check out which devices you have available as simulators.

react-native run-ios — simulator=”iPhone 8 Plus”
where "iPhone 8 Plus" is the value that you can look up through the last command I mentioned.
Running on Android
You will need an Android device to run your React Native Android app. This can be either a physical Android device or more commonly, you can use an Android Virtual Device which allows you to emulate an Android device on your computer.
If you wish to run it on a real device, you can follow the complete set of instructions here. For running on an Android emulator, open the Android Studio, and choose the option to ‘open an existing project/folder’. Once the project gets opened and is indexed, you will see an icon looking exactly like below image in the right corner.
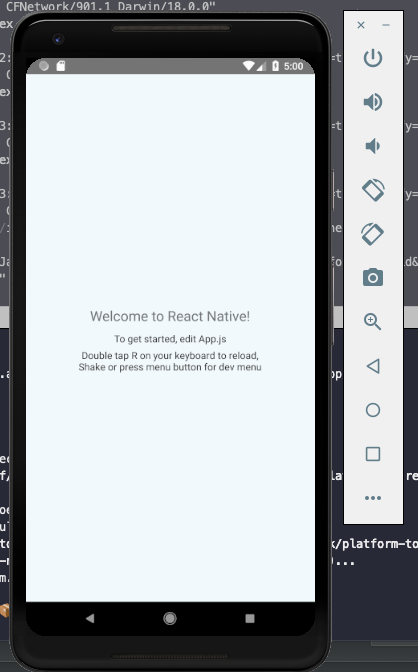
This is an option for enabling an Android Virtual Device (AVD). If you have just installed Android Studio, you will likely need to create a new AVD. After the virtual device is running, you can run the command react-native run-android from your terminal window to open up the application.

Last updated
Was this helpful?