component with context APIs
React's context allows you to share information to any component, by storing it in a central place and allowing access to any component that requests it (usually you are only able to pass data from parent to child via props).

What is React’s Context API?
Context provides a way to pass data through the component tree without having to pass props down manually at every level. — React JS documentation
This is most beneficial when you have global data that many components will want to use such as theme attributes, user data, etc.
There are three main steps in using context:
Creating your context
Providing it to your app
Consuming it in a nested component
Now, let's build a simple app that renders a message in a nested component.
This will make more sense as we go through in detail, but as an overview: In this example, I am going to render Component1 which will render Component2which will render Component3 . Component1 will be where the app is Provided the context and Component3 is where the context will be consumed.
Step 1: Create your Context
First you must define the default value for your context. This is only used in the case where you try to consumer your context outside of your provider. To simplify this, my default value is also going to be my initial value which will make more sense in the next step. But for now, in the code below you can see a defined initialValue object. This object is responsible for holding the key value pairs of your context. In this case just a message which is a string.
Step 2: Provide this value to your app
Next we need to let our app know what this value is and in this case, we are going to provide it with the above defined initialValue . You can do this by wrapping the component which holds the part of your app you want to have access to this information. For example, if you had some user data that only your navBar needed to know about, you could wrap just the navBar in a context specific to user data.
In the example, we want to wrap a top-level component (Component1) with a Provider containing my initial value. I did this by implementing the following:
Step 3: Consume the value of your context
The final step is to consume the value of your app in a child component of your Provider. This is accomplished by wrapping the consuming child component with your context’s consumer which can be accessed by importing your context and rendering its consumer like <MyContext.Consumer></MyContext.Consumer> .
Once you are within the Consumer I am using the render props pattern in order to access the value of my context. I can also destructure the value and only bring in the keys of my value object that I need.
See the code below for the actual implementation.
If you want to learn more about Render Props, check out my blog post on the topic. The link is at the end of the article.
Amazing! Now let’s see this in action and if we are getting our message value down into Component3 . We can test this by using Storybook to create a story for Component1 and see if it renders the context value in the nested Component3 . My story is written like:
and should then output something like the screenshot below:
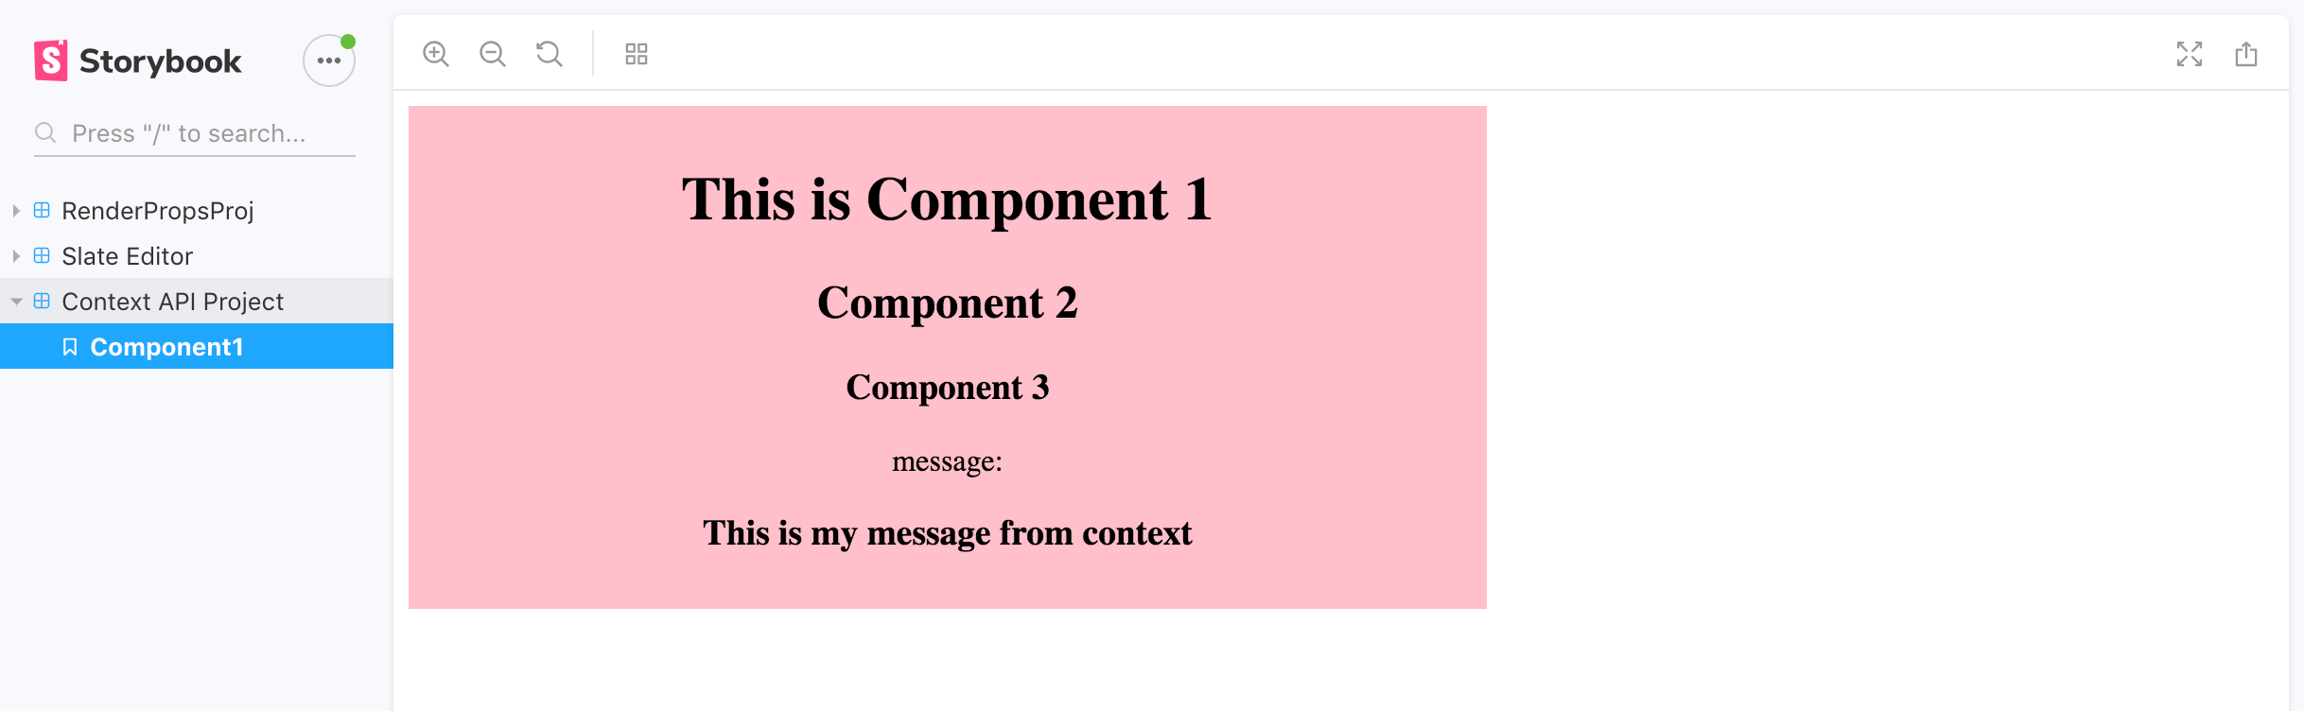
Yay! We now see the message that was defined in the initialValue of MyContext being rendered within Component3 . Success!
Now, imagine all of the use cases for this and why its helpful… Following the Single Responsibility Principle, we have extracted out the storage of this information and letting the context be in charge of it, while the component just needs to worry about consuming it and displaying it. This is allowing for greater reusability of our component as I can change the context and it can then display a different message.
In the case of creating a theme context, you can have multiple themes as a set of values for fonts, colors, etc. for various brands or looks. Then, in order to change the display of a component, you would need to change the value in your provider to a different theme. Since the nested components all depend on only the context value and nothing is hardcoded or needs redefining.
For further clarification, I included the code for this project in full below:
Another example step by step --
Context is built into React so you can start coding right away!
React Context returns an object with two properties, a provider and a consumer. Start by creating a new context and exporting it so we can use it later.
Provider
In Context.js we can also create a new class component to manage our state. In the return function, we create a provider which takes a value prop. We can now create an object to hold state and other functions we want to have access to.
Consumer
The consumer is how we access the data stored in Context. Any code that is contained in the Consumer tags will have access to the Context we created. Create a new component and try importing Context and creating a consumer. It’s also possible to have as many consumers as we need so we can avoid passing data through props.
Updating Context
If you look at the code example above, you can see how to update the context. On click of the button, we call the authenticate method that was returned by the consumer. In the provider, we created an authenticate method which updates the value isAuthenticated to true. Now the rest of your app has access to the updated value.
Give Context to your App
To provide context to your entire app wrap your <App /> with the Context Component.
You don’t have to implement the provider like this. If you only need access to the data in provider in one component, then you can just wrap that component. Since we want to have access to user information throughout our app, it makes sense to wrap our entire App with the Provider component.
Conclusion
React Context is a great introduction on how to manage state. It’s great to familiarize yourself with these basic concepts before trying a more complex solution like Redux
Last updated
Was this helpful?